|
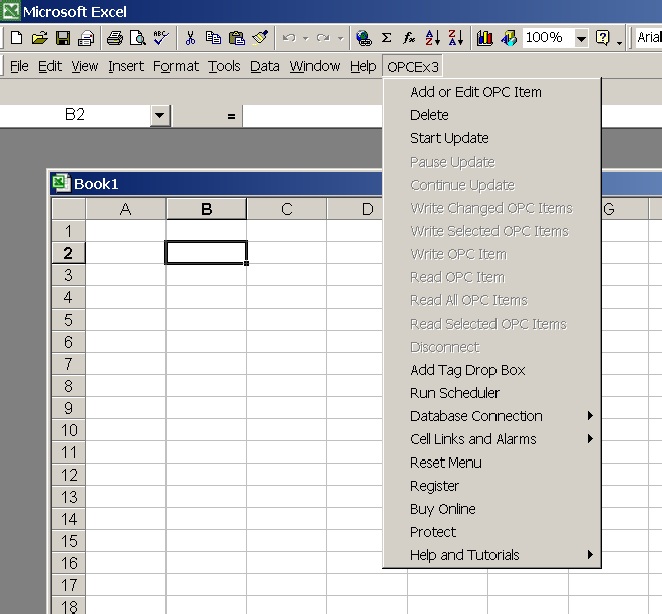
Getting Data Into
MicroSoft Excel Spreadsheet |
|
Once the NetPodOPC
server is selected and after about 10 seconds the NetPodOPC server name will
appear at the top of the |
|
|
|
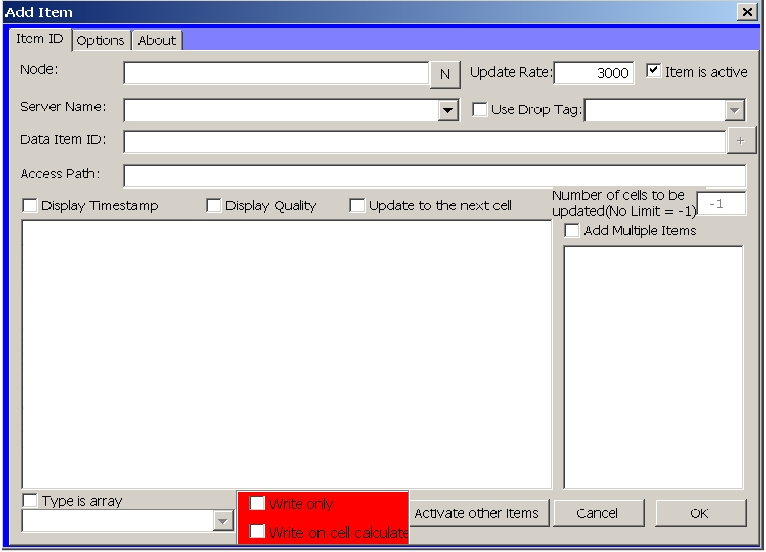
Fig 10 - Add Item Window |
|
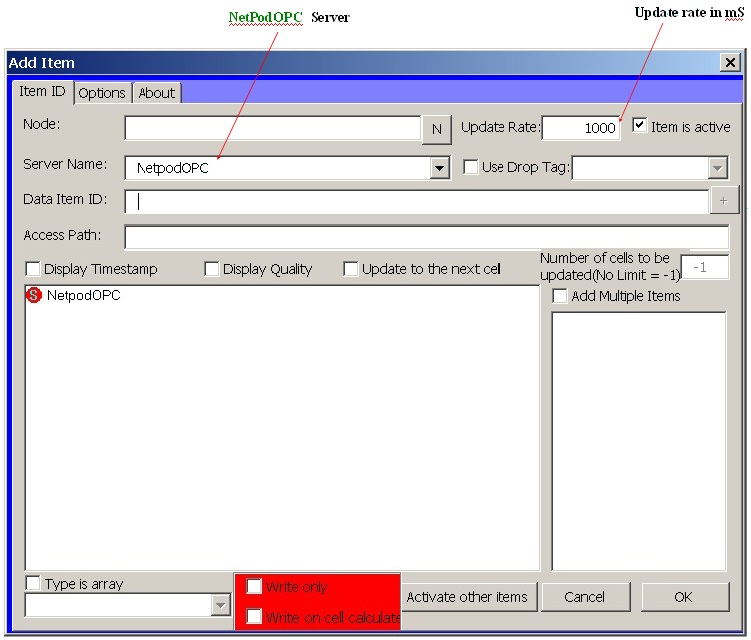
Fig 11- Add Item Window Showing NetPod OPC Selection |
|
Manually Starting the
OPC Server |
|
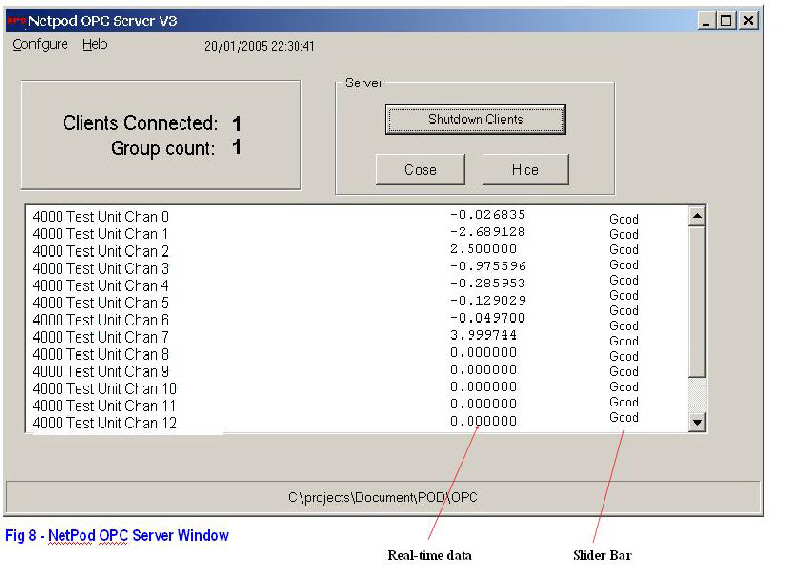
3) Start the
opcex31bb.exe
software and the Window shown in Fig 8 will appear. |
|
|
|
As long as the
PodMng software is running and the task bar icon is green then data will appear
into the OPC Server. |
|
|
|
Use the Slider bar,
see Fig 8, to observe data from any instrument on the network. Information is
only shown in the active part of the Window |
|
|
|
Fig 10 shows the Add Item Menu as it appears when the Window first appears. |
|
Selecting the NetPod
OPC Server |